FREE GUIDE
FROM PSIKIT.COM
Get Started with Mesh:
Simple Local Messaging

Traditional cell or internet-based networks rely on towers, access points, and wired uplinks. When the grid is down, these networks fail.
A local mesh uses a different approach. Devices communicate directly, device-to-device, without depending on centralized infrastructure. It’s simple, resilient, and practical.
PsiKit was created to make that capability accessible.
Instead of asking families to research firmware, radio regions, and encryption keys, we provide thoughtfully configured kits that are ready to use.
For those who prefer to build their own, we offer this beginner-friendly tutorial for free to spread awareness and help people connect.
📶 No cell towers
🌐 No internet required
💸 No monthly fees
✅ Just practical resilience
📶 No cell towers 🌐 No internet required 💸 No monthly fees ✅ Just practical resilience
Overview
Setting up your own mesh network for simple local messaging involves four main steps: choosing a compatible Meshtastic device, installing (or “flashing”) the latest firmware, configuring your device settings and channels, and sending your first message.
This guide is based on Meshtastic, an open-source project that allows small, low-power devices to communicate over long-range radio (LoRa). Meshtastic is widely used around the world and enables secure, off-grid messaging without relying on cellular service or internet access.
-
Choose a Device
Select a pre-assembled Meshtastic device with a built-in screen and controls. We recommend the Wio Tracker L1 for its joystick navigation and on-device messaging.
-
Update Firmware
Install the latest Meshtastic software on your device – a process commonly called “flashing firmware” – to ensure you have the newest features and improvements.
-
Set Up Device
Use the Meshtastic app to configure your region, set up your channels, and apply encryption so your devices can communicate securely.
-
Send Your First Message
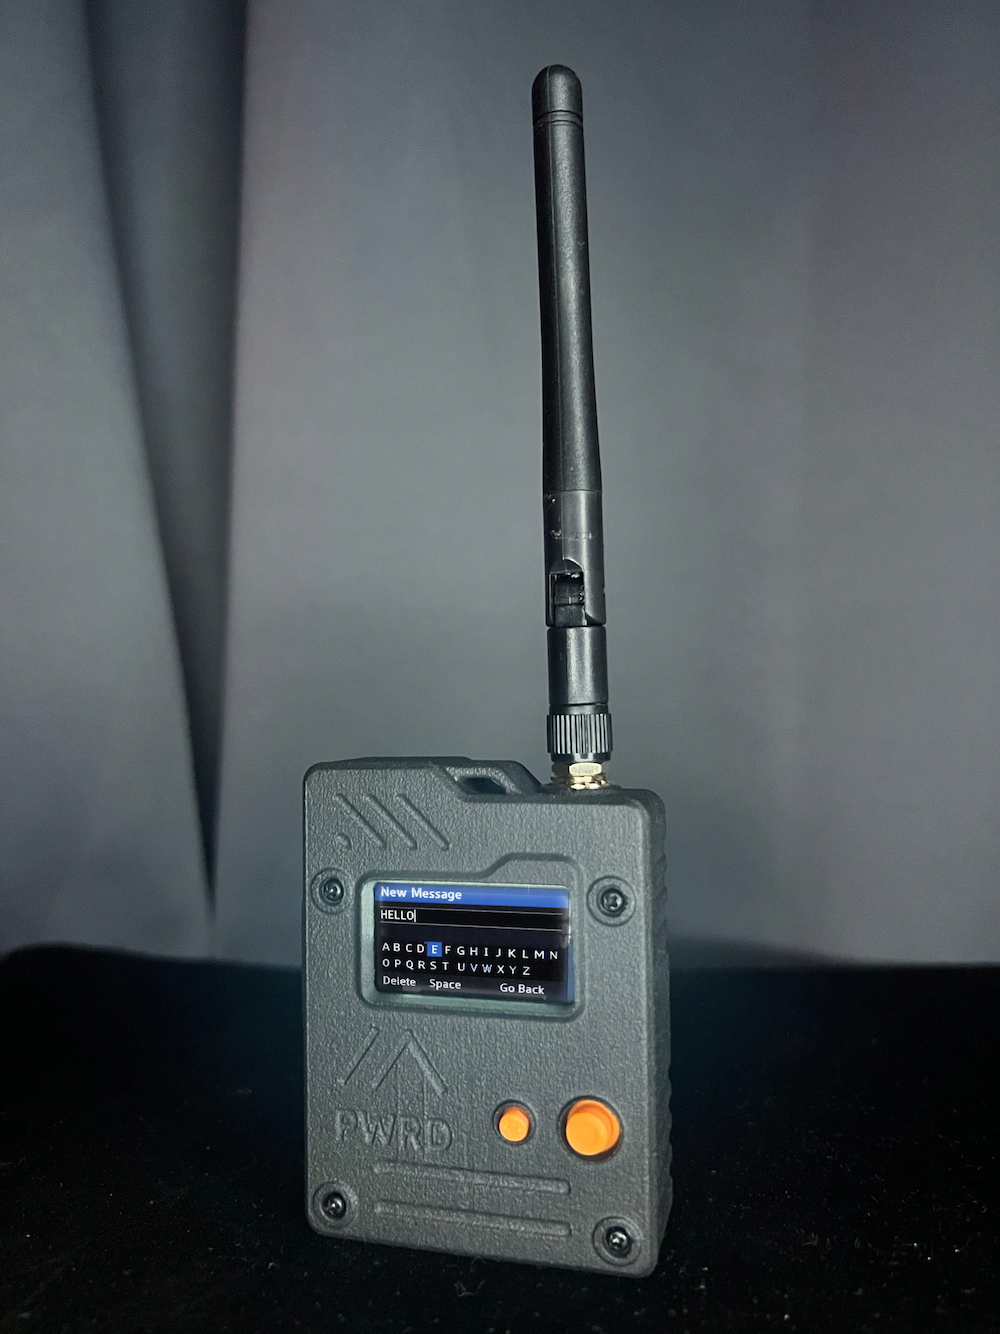
Compose and send a message either directly on the device using the joystick-driven keyboard, or through the Meshtastic app on your phone.
Choose a Device
The first step is selecting a compatible Meshtastic device.
There are many options available, ranging from small, screenless boards to larger units with built-in displays and keyboards. For most people, we recommend starting with a device that works both as a standalone messenger and with the Meshtastic app on a phone.
-
We recommend the Seeed Studio Wio Tracker L1.
It strikes the right balance between simplicity, portability, and cost.
The Wio Tracker L1 includes:
A built-in screen
Physical joystick controls
On-device message composition
Rechargeable battery
Full compatibility with the Meshtastic mobile app
This means you can send and receive messages directly on the device — even without a phone — while still having the option to use the Meshtastic app for faster typing and advanced configuration.
For beginners, that flexibility is ideal.
-
Meshtastic supports a wide range of hardware. You may encounter:
Devices with built-in keyboards
These offer full typing directly on the device. However, they tend to be more expensive and are often reviewed as bulky or less polished. For most families, they aren’t necessary.
Small, screenless devices
These are compact and affordable but require a companion device (like an iPhone or Android phone) to read and send messages. They work well for certain setups but may not be ideal as a standalone family communicator.
Solar-powered relay nodes
These are designed to be mounted outdoors, often on rooftops or elevated areas, to extend network range. They’re excellent additions once your network is established, but not required to get started.
-
If you’re new to mesh networking, begin with a standalone device like the Wio Tracker L1. It gives you immediate, practical functionality while leaving room to expand later.
Once you’ve chosen your device, the next step is installing the latest firmware.